Note: Google Photos for Android is compatible with Android 4.0 or above while Google Photos for iOS is compatible with iOS 8.1 or above.
1. Upload Photos & Videos Via Drag and Drop
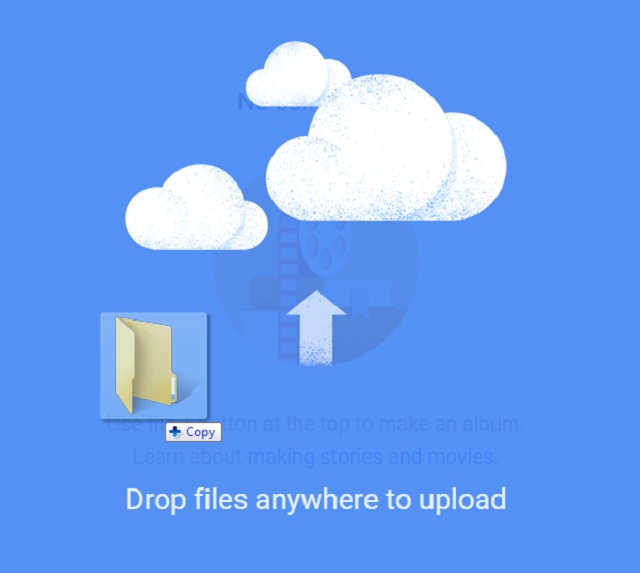
If https://photos.google.com is on the address bar of your web browser tab, you can simply upload a number of photos or videos by dragging and dropping them into the tab.
The same action could be done with a folder of images or videos as well.
Alternatively, you can upload photos or videos by clicking at the cloud button near search bar.
You can also auto-sync the desktop and mobile apps to upload photos.
2.Upload Size Option
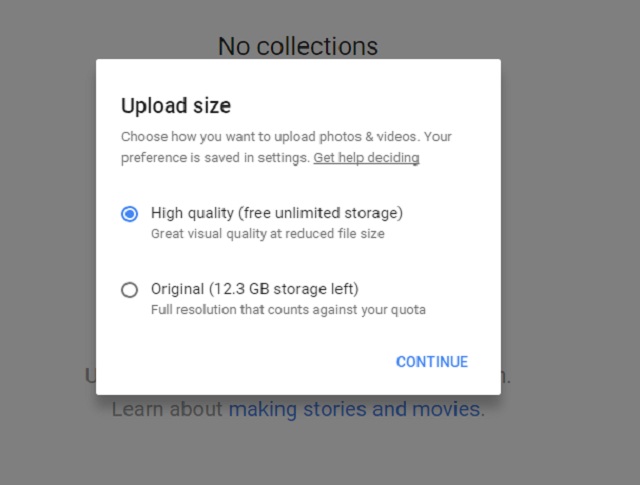
Once you upload a photo or video via drag and drop, a pop-up window will ask you to select an option for Upload size.
By default, High quality option is selected to upload photos (up to 16 MP) or videos (up to 1080p) with free unlimited storage while reducing file size. You can also select Original option to upload images or videos with original size and full resolution. The limited free drive storage of 15 GB is a drawback with this option. You can purchase more space starting with 100 GB at $1.99/month till 30 TB at $299.99/month. Click CONTINUE to finalize the upload process.
3. Intelligent Photo Search Option
Google brought up an intelligent search option in Google Photos. You can search photos via keywords e.g food you were eating in a photo, location or any other prominent object in a photo. But the most exciting thing is searching photos via face recognition. If you are using Google Photos on desktop/laptop, you can see the search bar at the top. In mobile phone, click on the blue circular magnifying glass icon and you will reach the search screen.
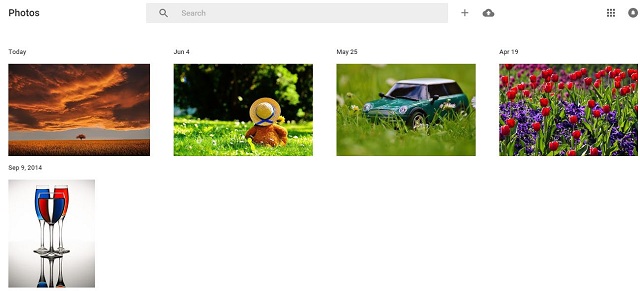
It will show you the six most frequent faces from your photo albums. Tap any of these faces and it will return almost all photos containing that particular face. If you want to add more faces, tap the More next to the People. Note: Search via face recognition is available in limited countries. If it is not available in your country, you can use any of the available VPN services and access it. Scroll down the same screen and you’ll see a list of locations where you captured these photos even if location reporting service is deactivated. As per Google, their technology is able to identify famous geographical landmarks in your photos and annotate these photos with corresponding location automatically. To see the magic of powerful search feature, I have uploaded few photos.
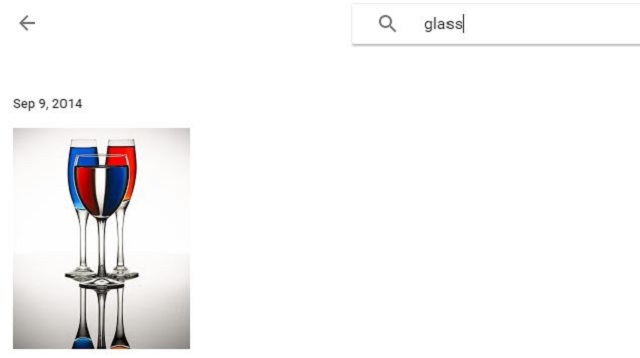
Search results will return a glass photograph if I type and search glass in search bar.
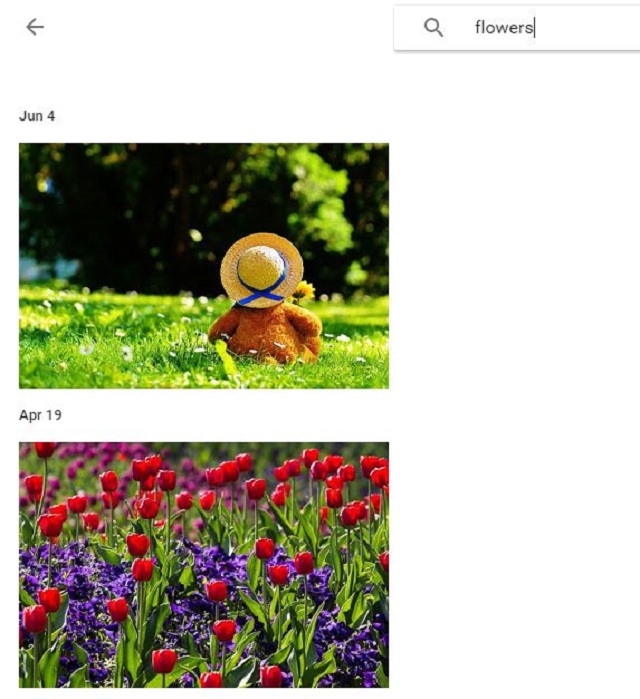
I have typed flowers in search bar to search flowers photograph.
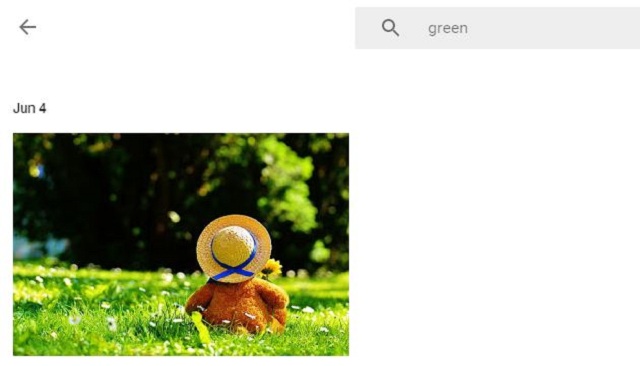
You can also search in Google Photos via different color names that are prominent in a photo.
However, accuracy in searching photos is still a problem. I could find results for green color only while search results for other colors were empty. Google must be aware of this problem and improvement in search option might be witnessed soon.
4. Photo View Options
If you are using Google Photos on mobile then by default, in Daily View, all your photos are arranged in a grid of medium-size thumbnails.
You can switch easily to Comfortable View displaying larger view of images by pinching outward.
Finally, if you want to see more images at once at your mobile screen then pinch inward to switch on Compact view. With a simple act of pinching inward, one can see photos across, days, months and years.
5. Duplication Eliminated to Save Drive Space
If you have a really large collection of photos and you have uploaded a photo which already exists then Google Photos will keep only one copy while eliminating the duplication. This feature could be really handy if you are uploading photos via Original option where storage size is limited.
6. Collections to Make Album, Stories and Movies
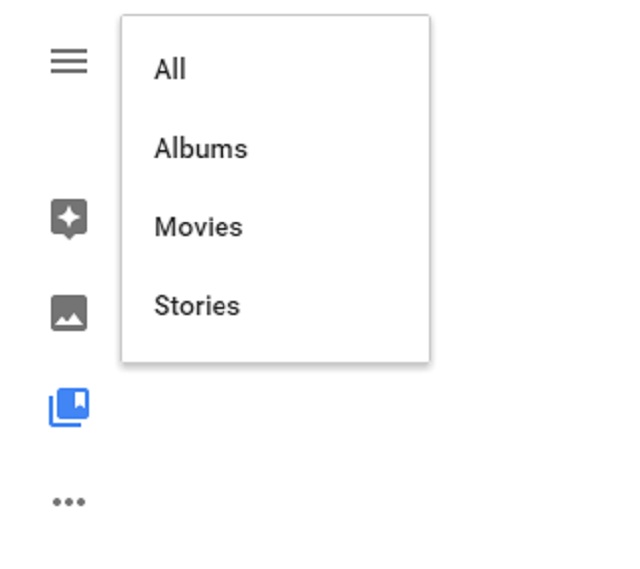
Collections give an easy way to users for creating albums, stories and movies with few clicks. Locate and click the Collection option at the top left of Google Photos.
Select what type of collection you want to start with.
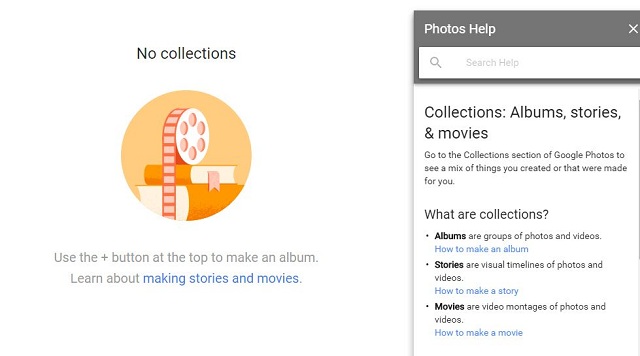
Don’t worry if you are new to Google Photos and don’t know how to start creating a story or movie. Click on making stories and movies and a step by step guide will appear to assist you.
7. Google Photos Assistant
Assistant is one of the powerful feature offered by Google Photos. Main objective of Google Photos Assistant is to help you stay organized with your photos while suggesting new things appearing as cards. You can see Google Photos Assistant by clicking on the Hamburger button at top left side.
It can do many other things for you automatically. For instance, it can inspect your photos for similarities on the basis of various factors, compile them together and suggest you whether to save the compilation or not. If this is not enough then it can further assist you to free some space on local storage when you are running out of it. For example, it may suggest you to delete photos that are too old and stored at cloud as well.
8. Built-in Photo Editor
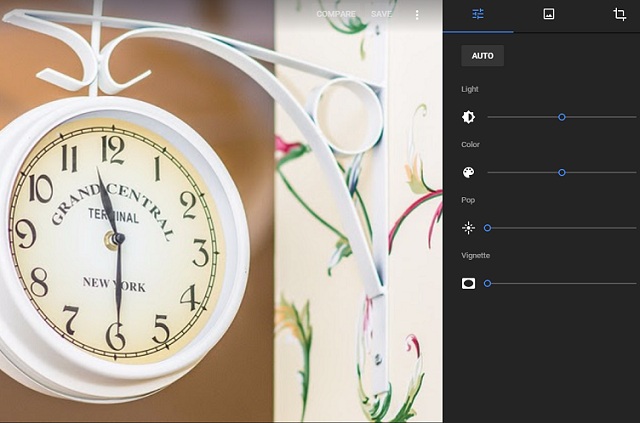
Google Photos have come up with a simple yet decent built-in photo editor that might be more than enough for many people. Select a photo and click on Pencil icon at top right side to start editing. To edit a photo on mobile phone, you can see the edit option right below the image.
Google Photos editor is equipped with a number of image filters, crop and rotate, adjustable Light, Color, Pop and Vignette options.
If you are interested to see the difference between original and editing photo, click on COMPARE option to see comparison instantly.
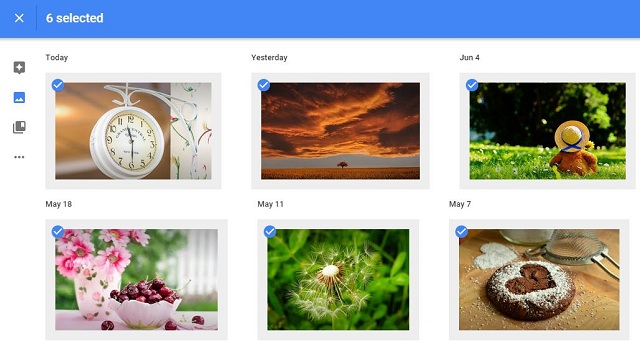
9. Easy & Quick Photo Selection
If you are using Google Photos on the Web, to select a batch of photos hold Shift key and click on Round Check Mark Icon of 1st image in batch and then click on Round Check Mark Icon of last image in batch. It will select all the photos in between first and last checked photo automatically while saving your time. Click on Round Check Mark Icon of photos to select them randomly.
Selection of photos on mobile is really swift and easy. Keep and hold your finger on a photo and then move the finger on all the photos you want to select, bravo; here is your selected group of photos.
10. Easy Integration of Google Drive
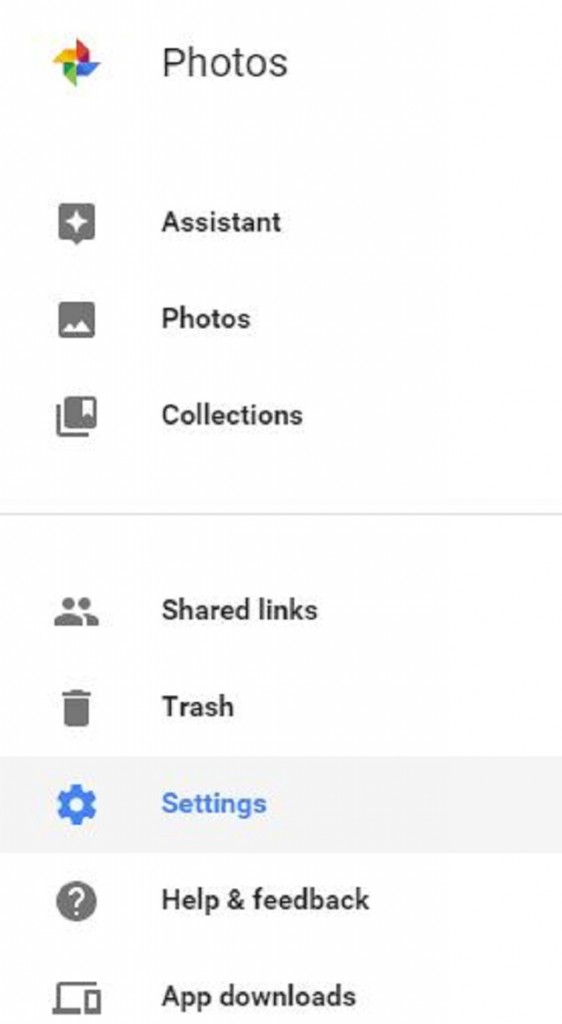
At this point, if you have really start liking the Google Photos service and interested to upload all your photos and videos not only from your phone and laptop but also from your Google Drive then you can go for it easily. Click on top-left Hamburger button > Settings > Turn on Toggle Button.
11. Instant Photo Sharing
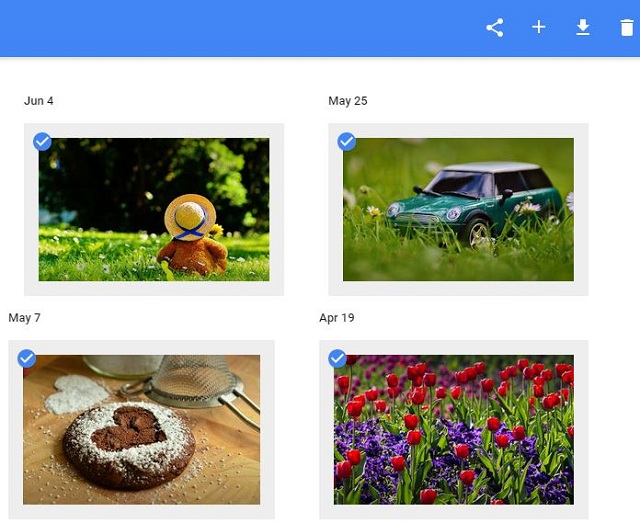
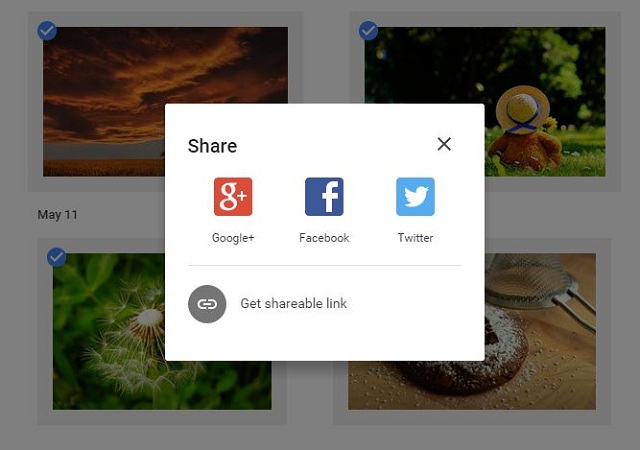
Google Photo allows to share photos instantly over popular social networks such as Facebook, Twitter or Google+. Click on Share button and choose the option you want to go with.
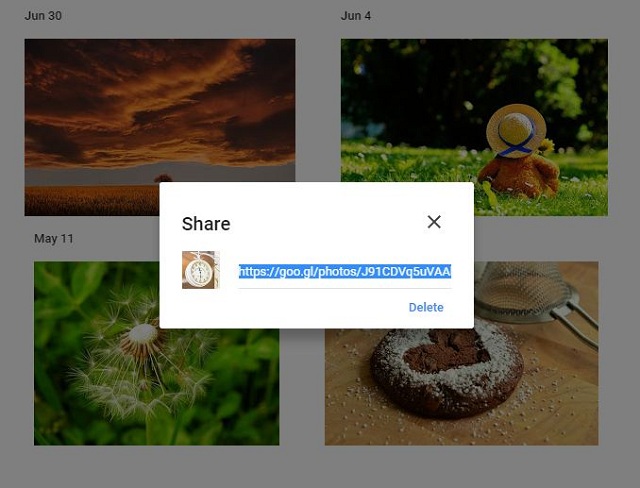
What if someone is not at any of these social networks, Google Photos can generate a searchable link which can be shared with others to see and download the selection of photos in full resolution whether signed into Google or not. Click on Get a shareable link to generate the link which you can share by simple copy and paste.
Later on, if you decide that no one should be able to open the shared link then you can revoke access. Click on Hamburger Button > Shared links > Delete link.
12. Auto Compression of Photos
Rather than giving an explicit option, Google Photos compresses all the uploaded images implicitly. You can witness the feature by yourself. Upload a photo to Google Photos using High Quality Option and then download it. You can see the size of downloaded photo is far smaller than original one. SEE ALSO: 14 Cool Instagram Tips And Tricks
Conclusion
The amazing search feature and unlimited uploading of images and videos turn Google Photos a great app to have either on desktop or mobile phone. Smart Google Photos Assistant would be really helpful for users to organize photos and the simple editing and sharing feature make Google Photos a very easy to use app. Understanding these features will help a user to dig maximum out of this App.
